This guide will help how to provision BluFl to your project .
There are two separate parts to the provisioning process:
- Create a BluFi template with the right Wi- Fi settings. Please refer to 03. How-to Setup Templates for details.
- Physically provisioning BluFi using the Bluzone App
- Provision BluFl
- Provision Virtual BluFI
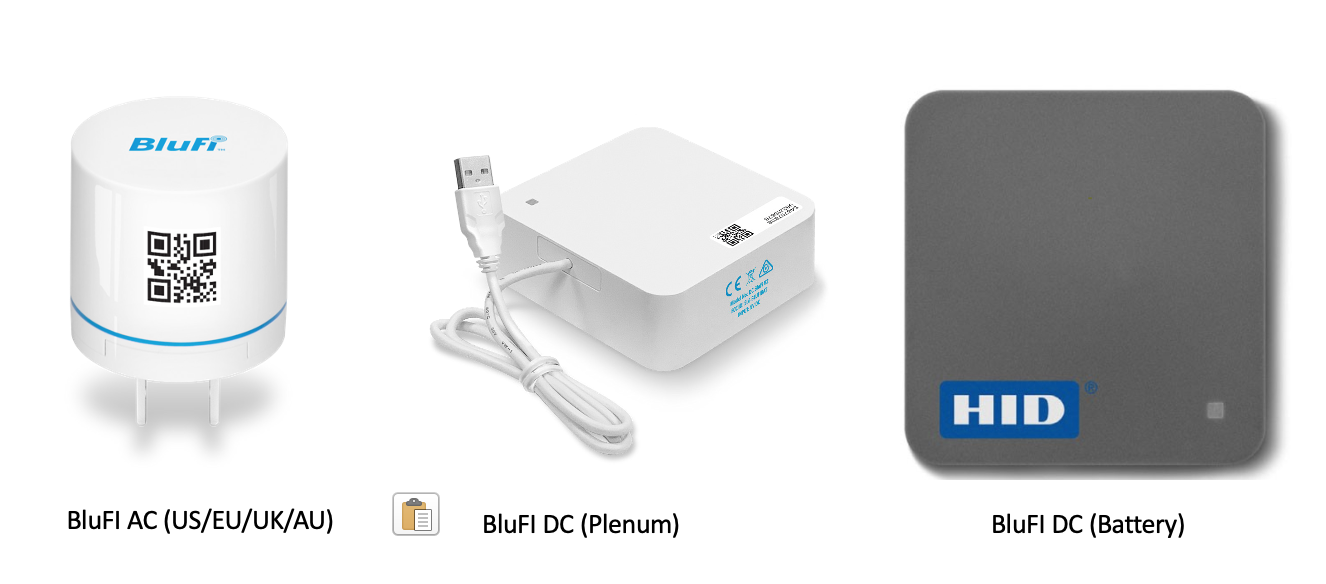
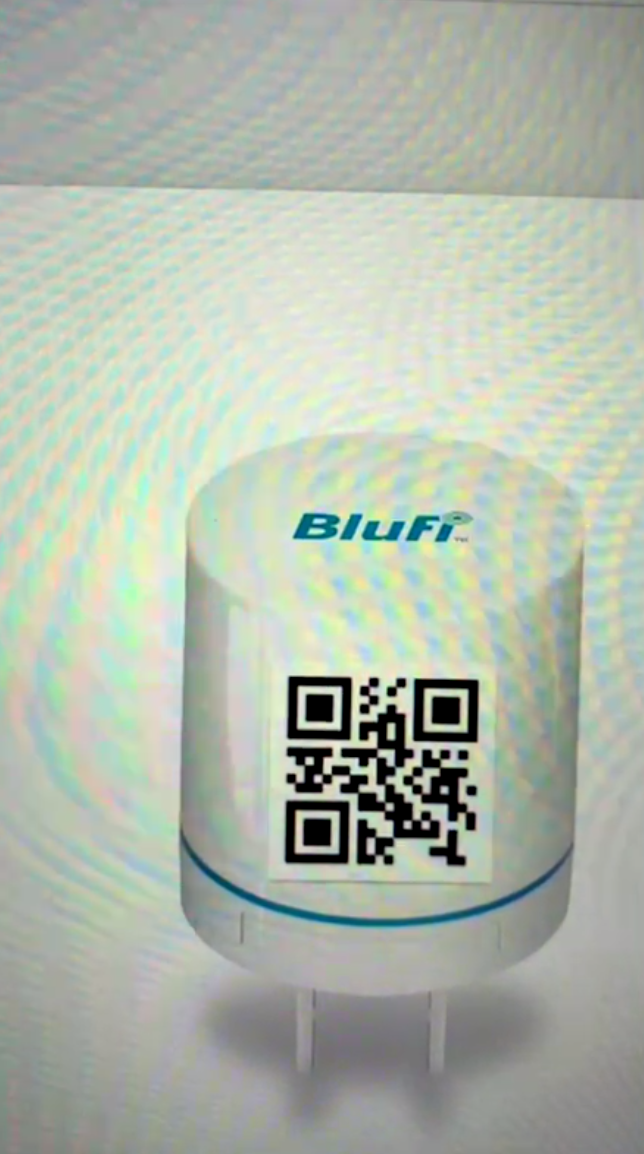
Plug the AC BluFi into the Wall Outlet and make sure you see the light indicator once plugged.
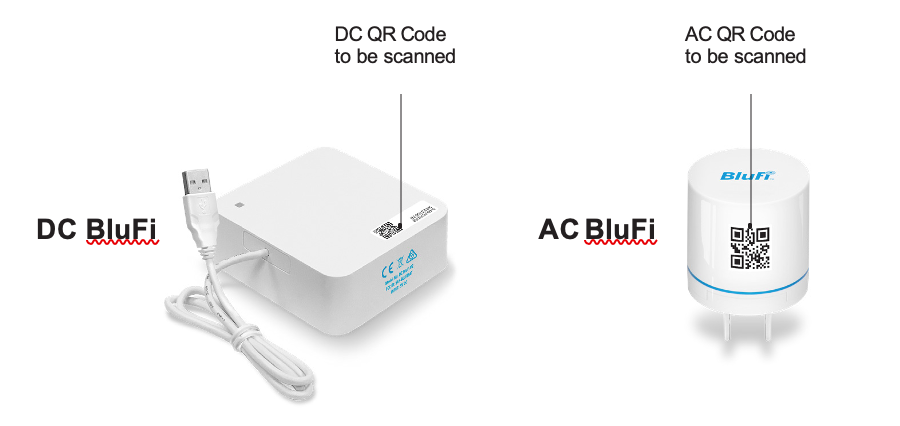
For BluFI DC(Plenum) Connect USB cable to adapter and Plug IN adapter to power outlet.
For BluFI DC(Battery) Connect Micro USB cable side to BluFI ,USB cable to adapter and Plug IN adapter to power outlet.
Provision BluFI:
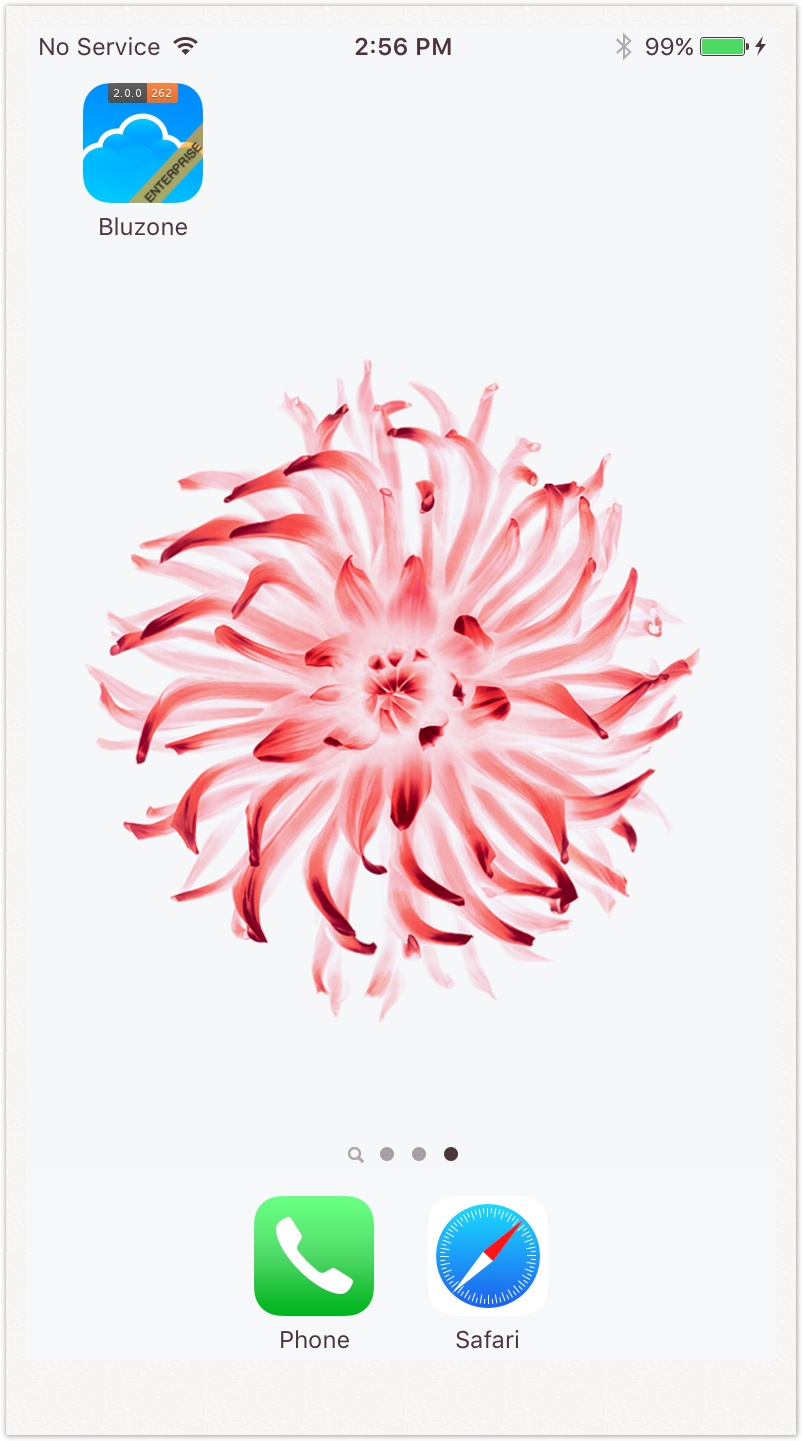
Step 1 : Launch the Bluzone app on your device
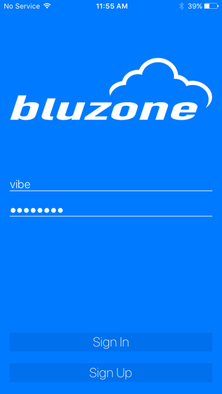
Step 2 : Sign in using your username and password
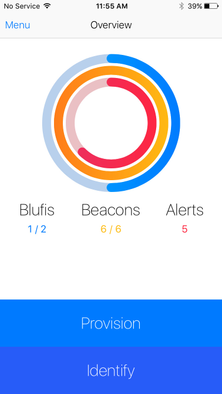
Step 3 : Click Provision
Step 4 : Click BluFi
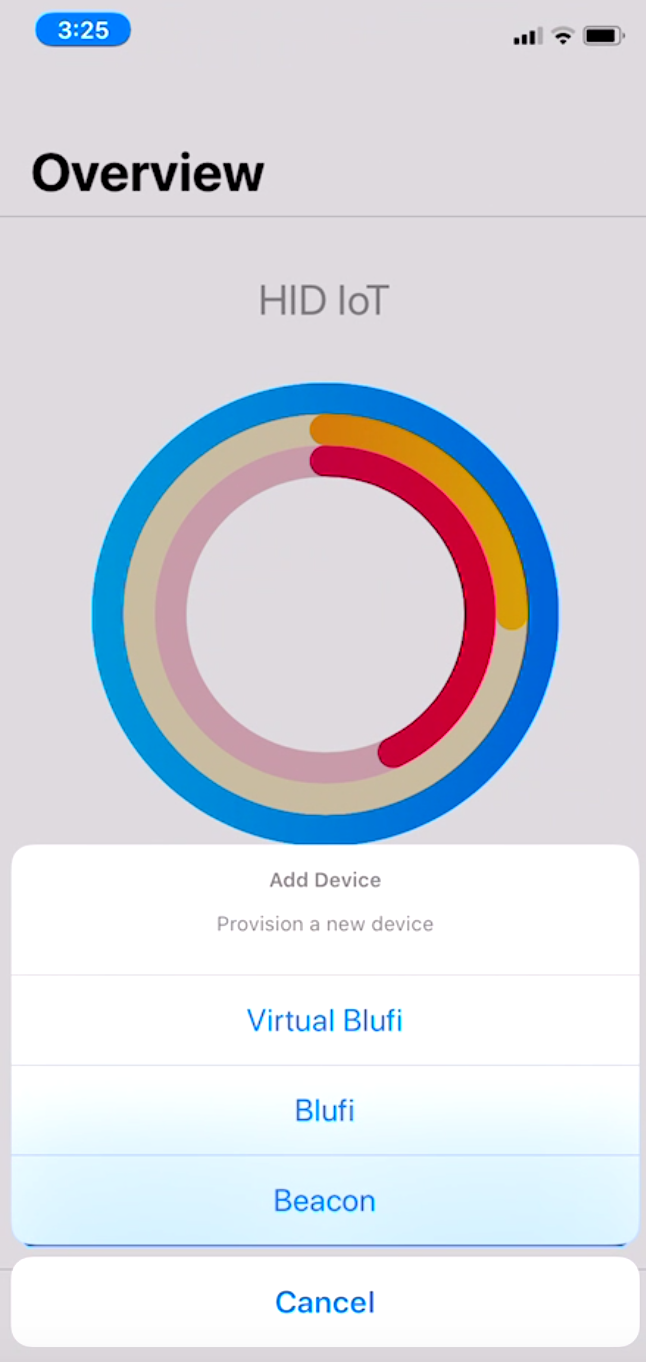
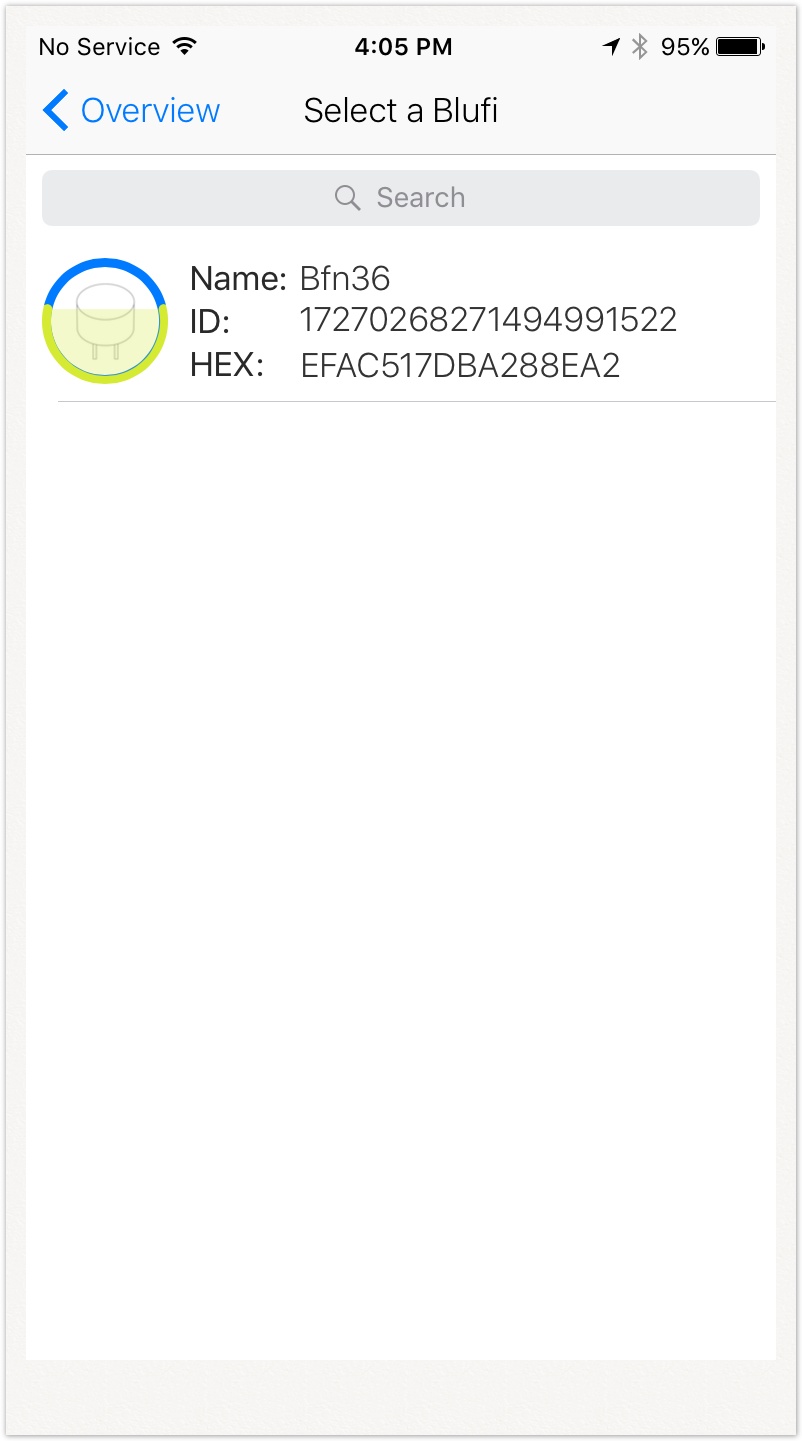
Step 5 : Next you will see a list of all the available BluFi around you. Select appropriate BluFi
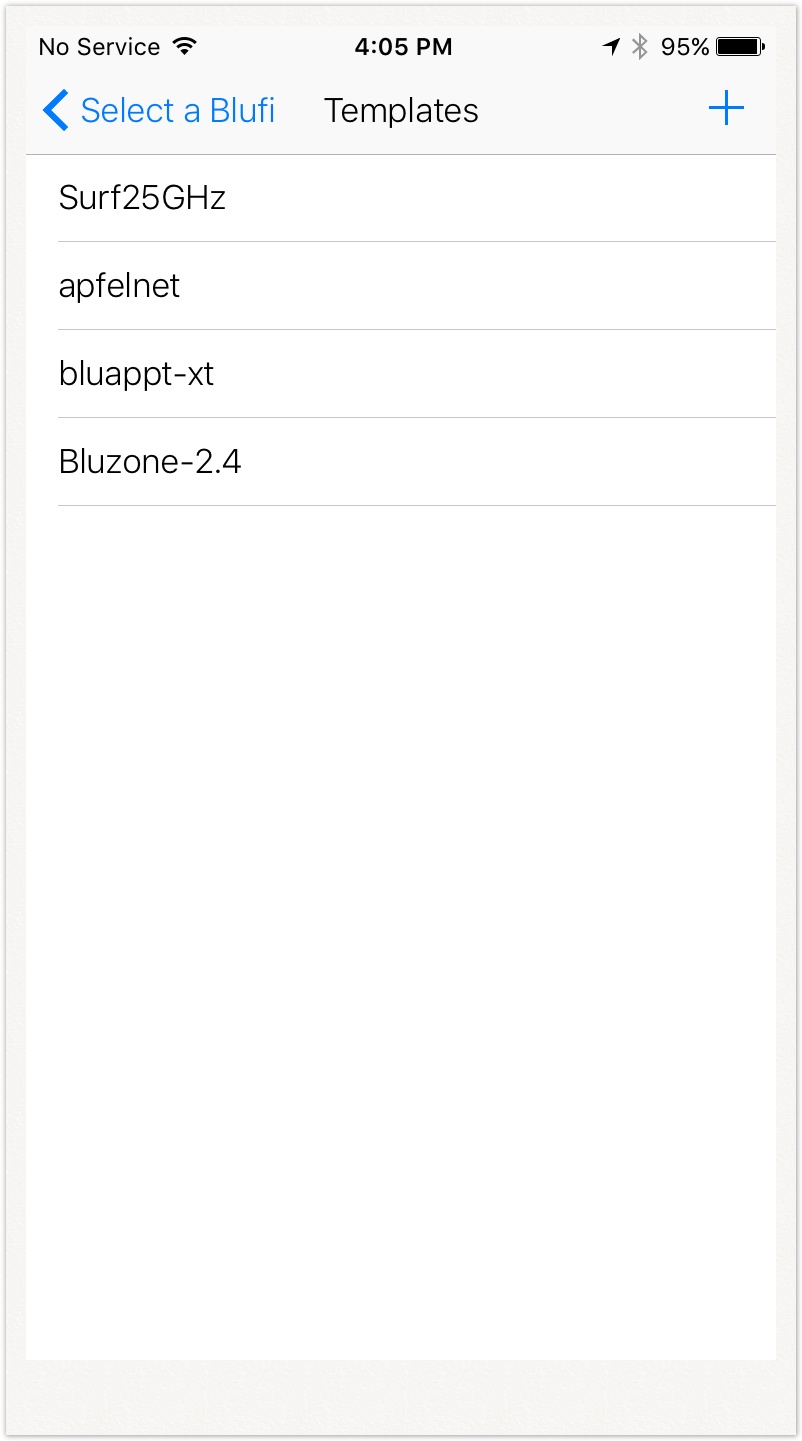
Step 6 : Choose appropriate BluFi template. Please refer to 03. How-to Setup Templates for details on how to setup various templates
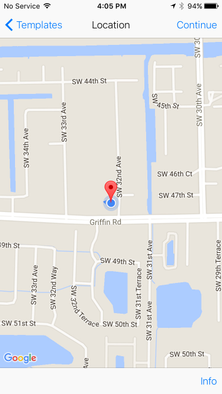
Step 7 :Next you will be prompted to select the physical location of the BluFi where it is being deployed. Location is assigned by GPS and can be changed manually by dragging the pin in order to be more accurate
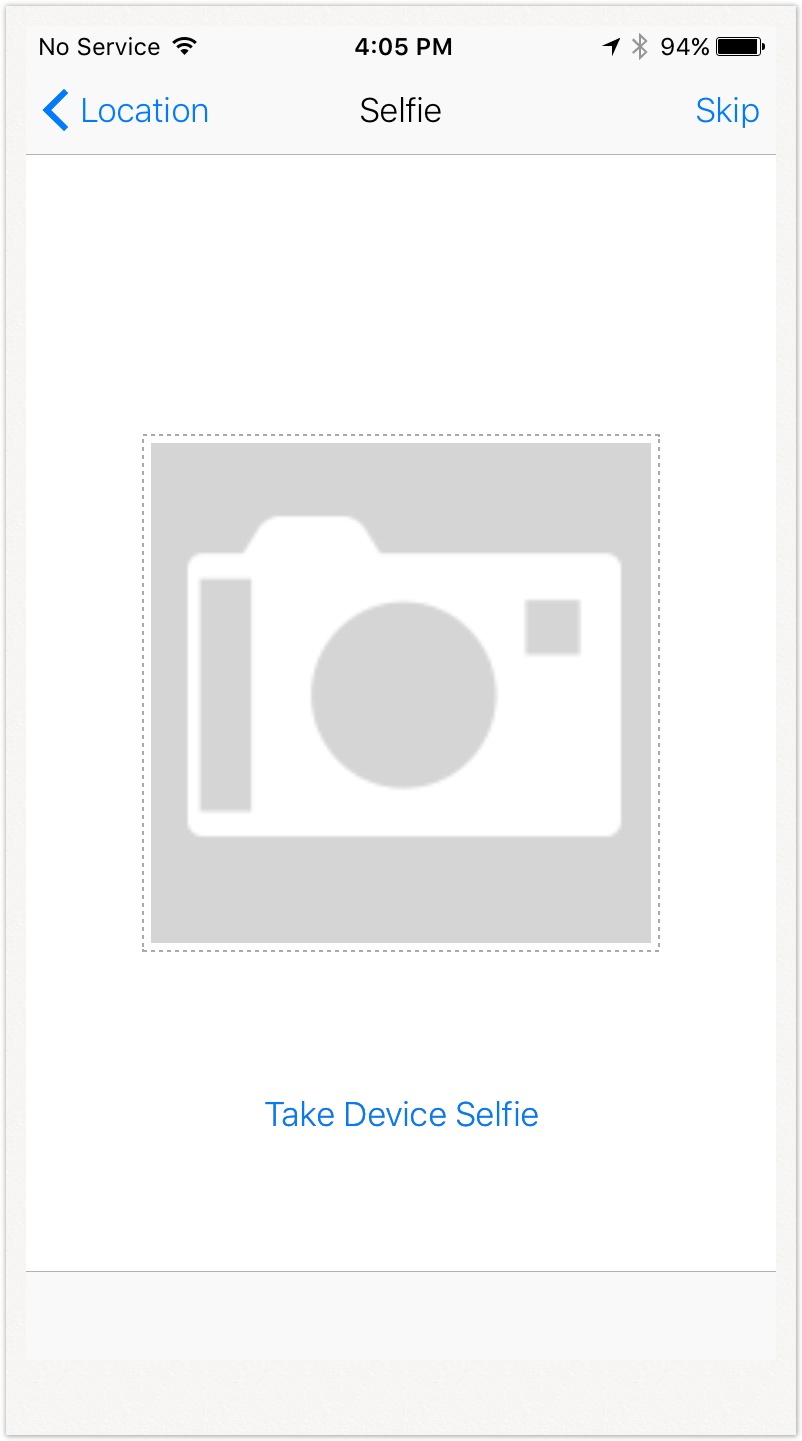
Step 8 : Next you will be prompted to take a Selfie of the BluFi. This is an optional step and is recommended so that others can easily identify the location of the BluFi after deployment
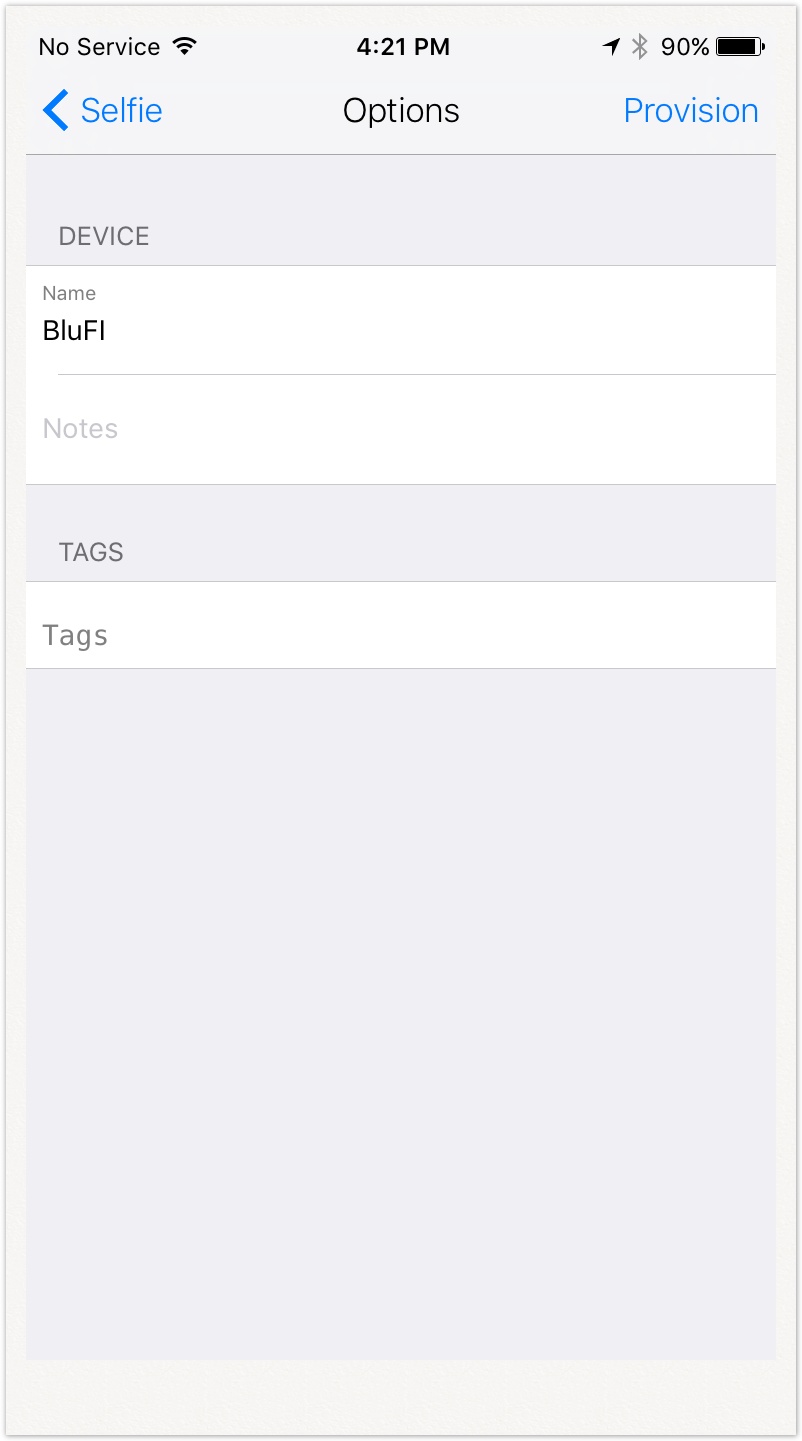
Step 9 : Next you will be prompted to enter a name for the BluFi. You may keep the default name but it is recommended to choose a unique name that is meaningful to you. At this time you may also add Tags from the template, or create new ones if needed. Click Provision after entering the information
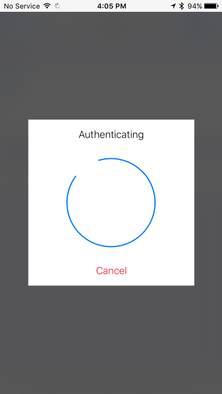
Step 10 : Wait for provisioning process to complete
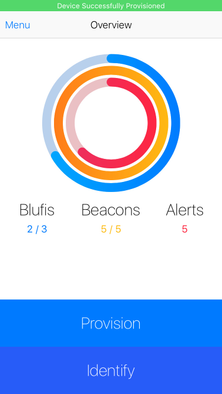
Step 11 : Congratulations, you have provisioned the BluFi
Provision Virtual BluFI:
For virtual BluFI provision setup ,you need to ask HID IoT team to provision BluFI to your project at the time of sale order.
Once the BluFI are provision to your project then use "Virtual Device" tab in Bluzone console to create virtual devices.
Step 1 : Launch the Bluzone app on your device
Step 2 : Sign in using your username and password
Step 3 : Click Provision
Step 4 : Click Virtual BluFi
Step 5 : Scan QR Code on the BluFI
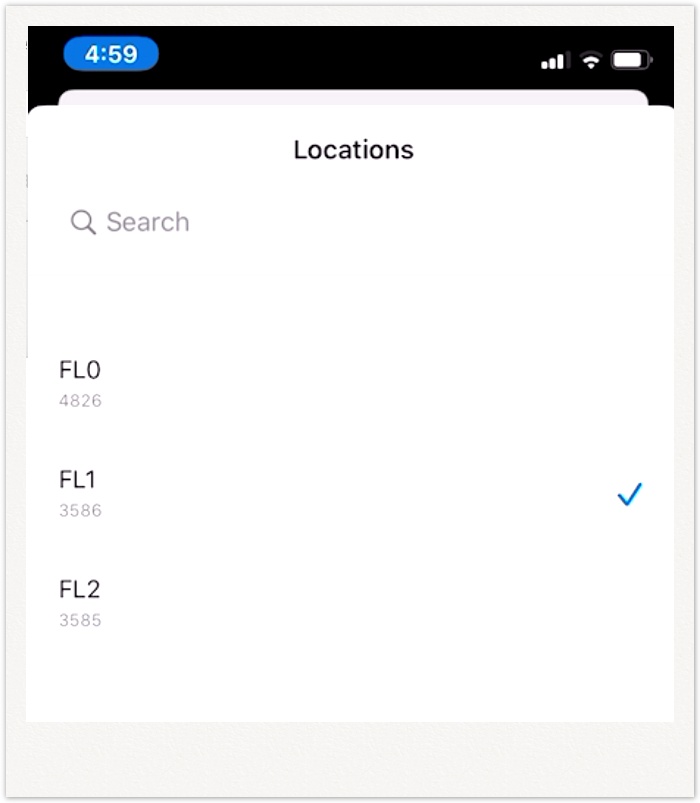
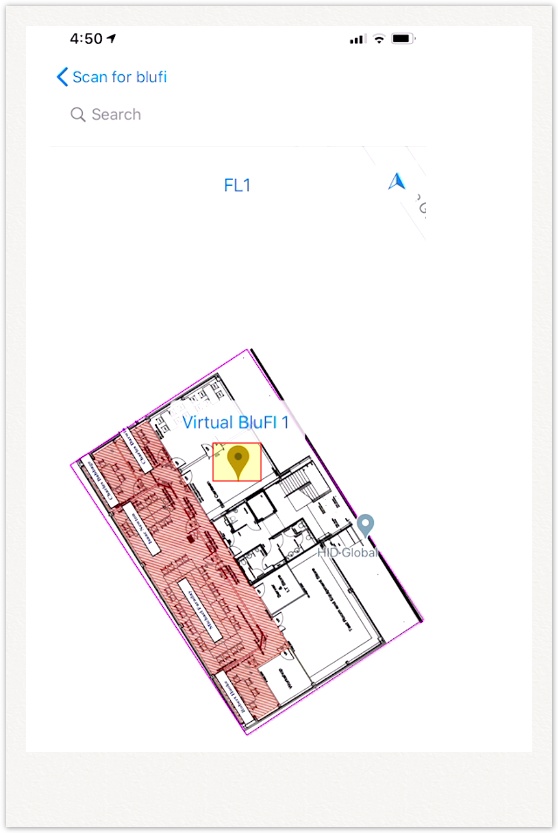
Step 6 :To Assign BluFI on the Map.Select Location
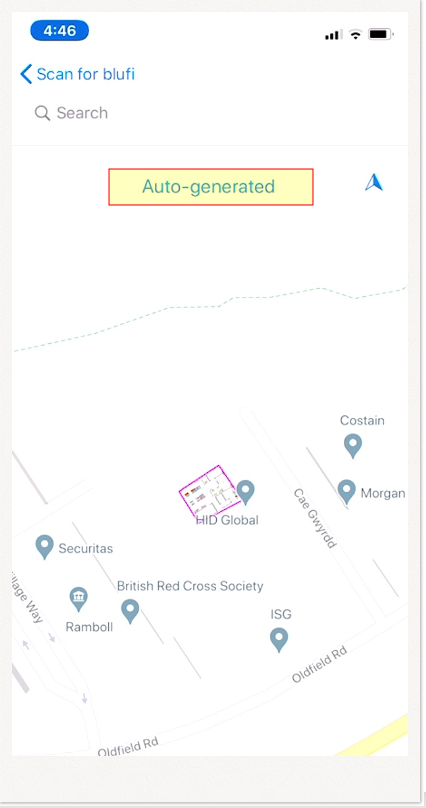
Step 7 :Select the Map
Step 8 :Select BluFl assigned on the map .
Step 9 : Select Associate

Step 10 : BluFI associated to the project.
Wi-Fi can work over one of two spectrum bands: 2.4GHz or 5GHz. Before proceeding with configuration, please ensure your Wi-Fi configuration uses a 2.4GHz SSID.
- The BluFI Device is compatible with 2.4GHz bands only.
- The BluFI device is compatible with dual band networks but the BluFi must connect to the 2.4GHz band SSID.
- The BluFI requires Wi-Fi network that are designed for m2m. A Wi-Fi network with web html login is not supported.
- Please also ensure that the Wi-Fi network firewall settings do not restrict BluFi connectivity.
NOTE : BluFIs use port 443 for the https/wss websocket connection to Bluzone cloud, and port 123 for the NTP protocol (Network time protocol). In some enterprises, Wi-Fi access is restricted with mac address filtering.Please make sure your either Mac address filtering should not be enabled in Wi-Fi access point or whitelist your BluFls Mac address.
Related articles