How to Provision BluFI
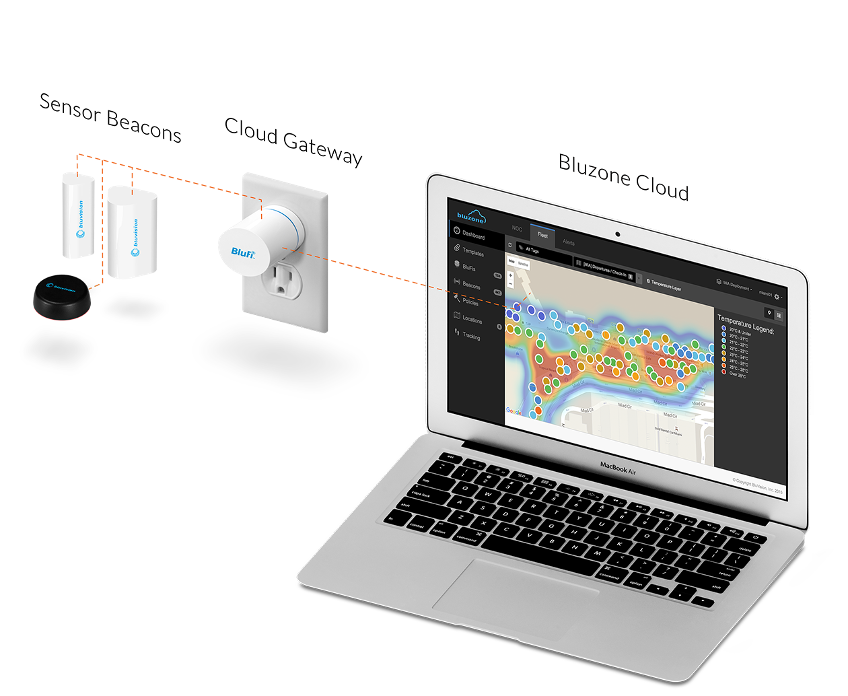
System Overview
The high-level network architecture of bluvision system is comprised of mainly three components
- Beacons
- BluFI Gateway
- Bluzone Cloud
The beacons sensors transmit real time data to the BluFi gateway. BluFi (Bluetooth to Wi-Fi Gateway) receives the data from the asset tags and forward to bluzone cloud over the Wi-Fi network. The system also has the flexibility to transfer the data via smart phones with SDK/ app. The Bluzone cloud allow user to create policies for sensors and check the real-time status of the assets.
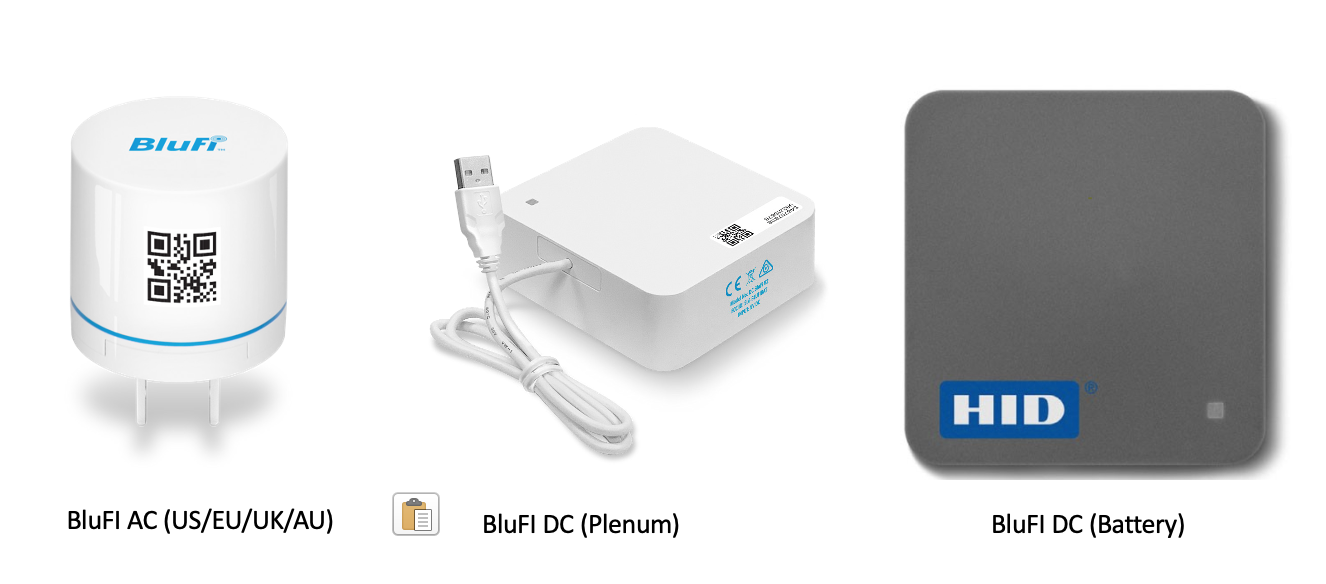
About BluFI
BluFi are Bluetooth Low-Energy (BLE) to Wi gateways that relay signals between BEEKs Beacons and the cloud of HID Global’s end-to-end IoT ecosystem. In combination with the corresponding BluzoneTM cloud
services, BluFi enable BEEKs beacons to be centrally managed through the cloud, to transfer new messages, firmware updates, sensor data and battery status checks remotely. Their unique design allows BluFi devices and BEEKs beacons to broadcast reliably even in densely populated Wi-Fi environments.
BluFI Setup Guide
This guide will help how to provision BluFl to your project .
There are two separate parts to the provisioning process:
- Create a BluFi template with the Wi- Fi settings. Please refer to 03. How-to Setup Templates for details.
- Physically provisioning BluFi using the Bluzone App
- Provision BluFl
- Provision Virtual BluFI
Plug the AC BluFi into the Wall Outlet and make sure you see the light indicator once plugged.
For BluFI DC(Plenum) Connect USB cable to adapter and Plug IN adapter to power outlet.
For BluFI DC(Battery) Connect Micro USB cable side to BluFI ,USB cable to adapter and Plug IN adapter to power outlet.
The bluzone provisioning app detail are available in below link.
i) Provision BluFI:
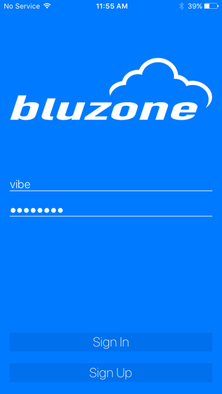
Step 1 : Launch the Bluzone app on your device
Step 2 : Sign in using your username and password
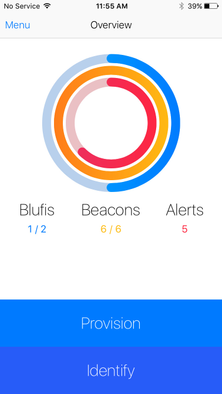
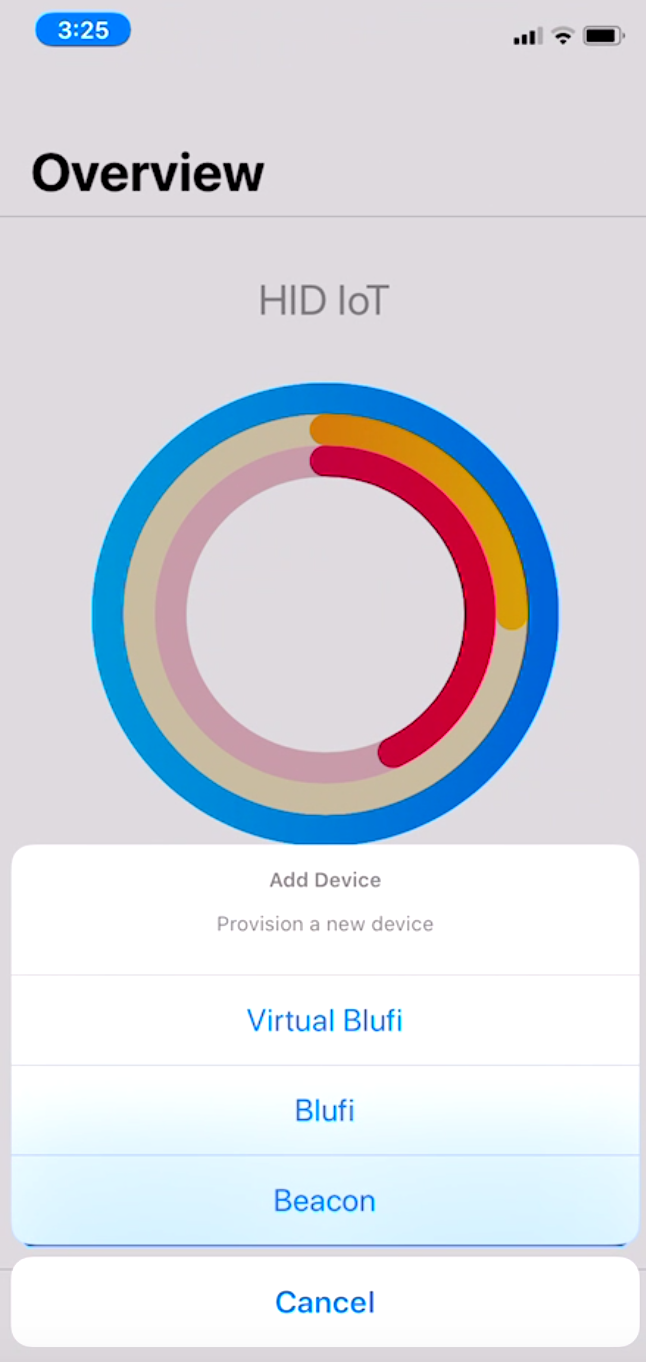
Step 3 : Click Provision
Step 4 : Click BluFi
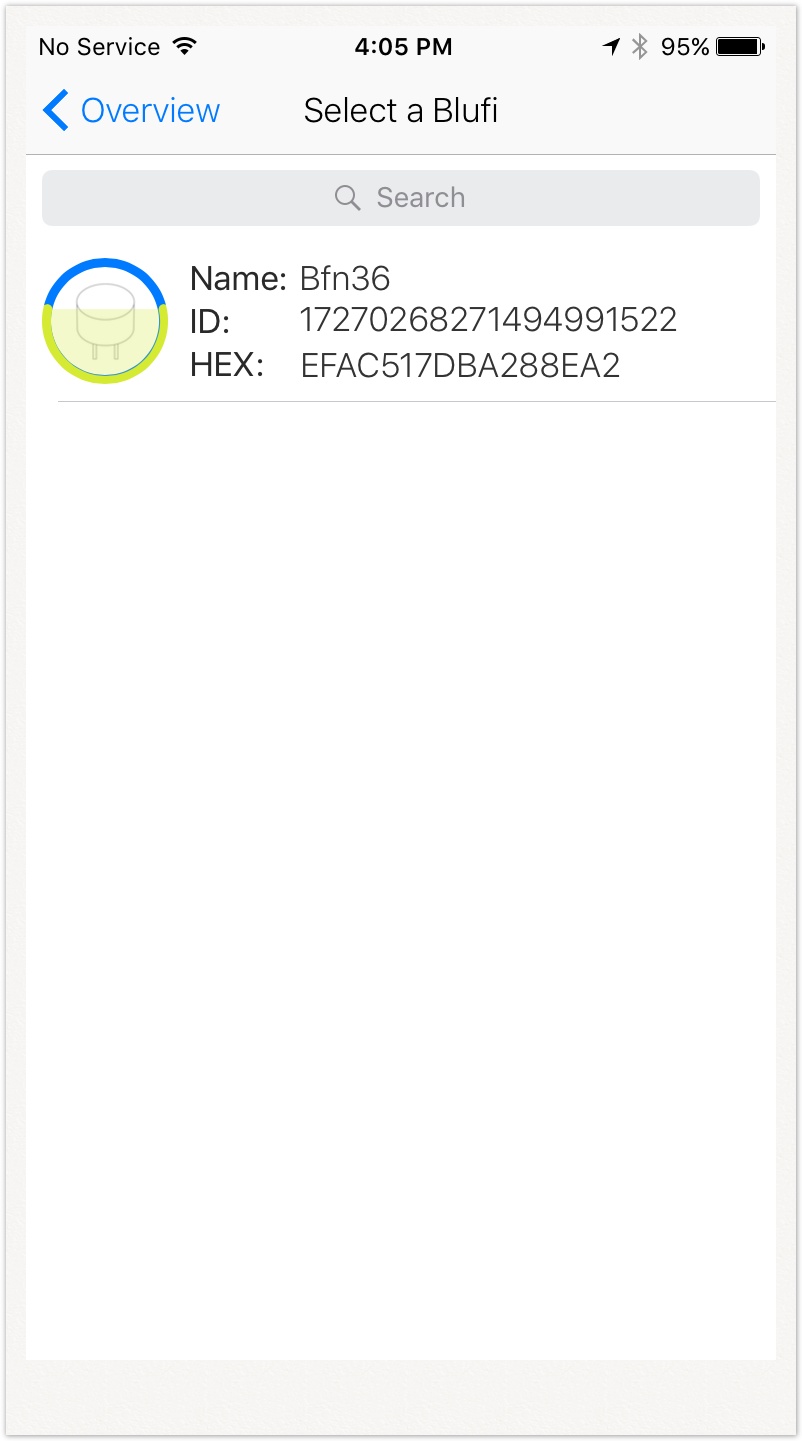
Step 5 : Next you will see a list of all the available BluFi around you. Select appropriate BluFi
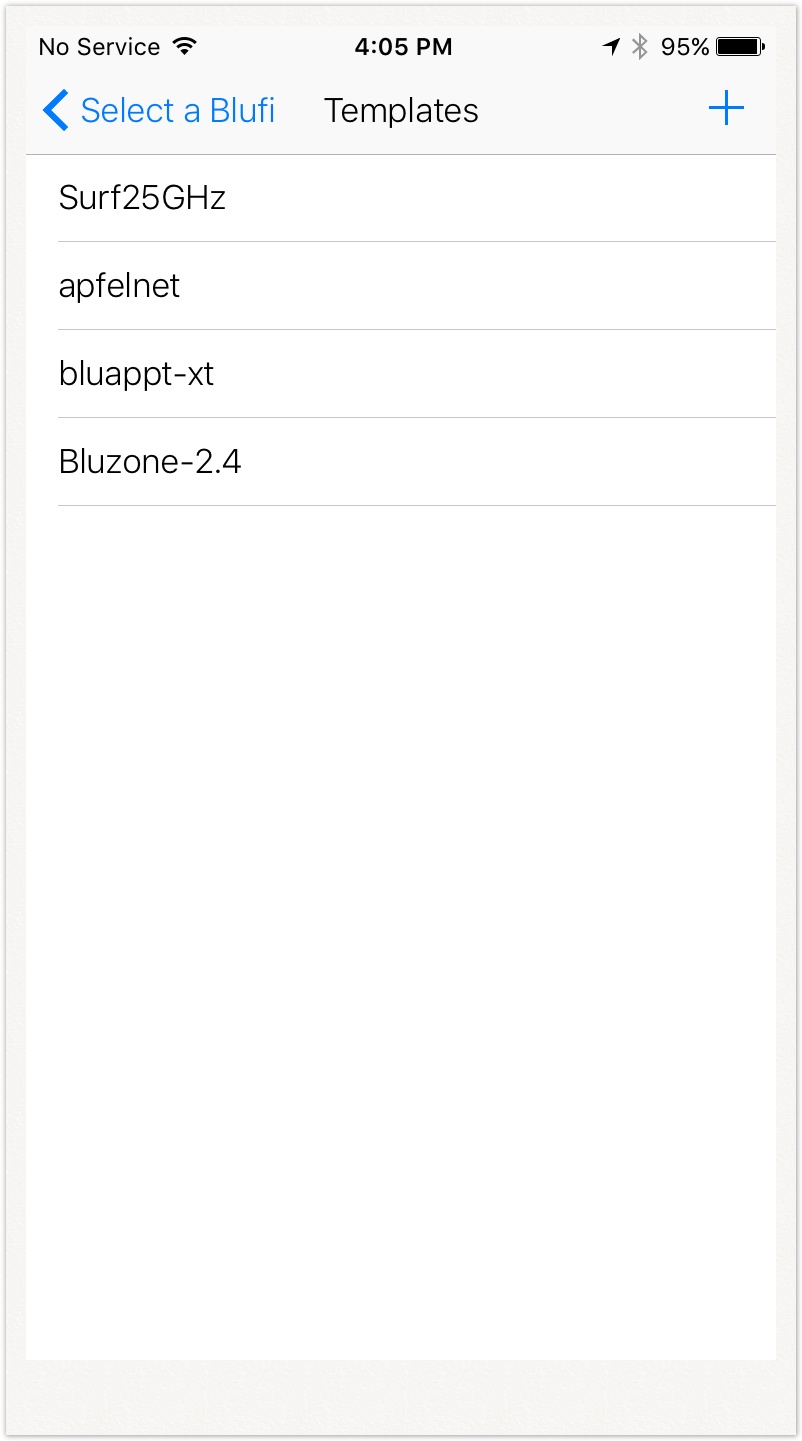
Step 6 : Choose appropriate BluFi template. Please refer to 03. How-to Setup Templates for details on how to setup various templates
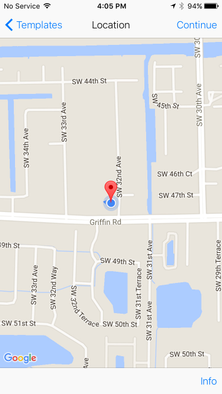
Step 7 :Next you will be prompted to select the physical location of the BluFi where it is being deployed. Location is assigned by GPS and can be changed manually by dragging the pin in order to be more accurate
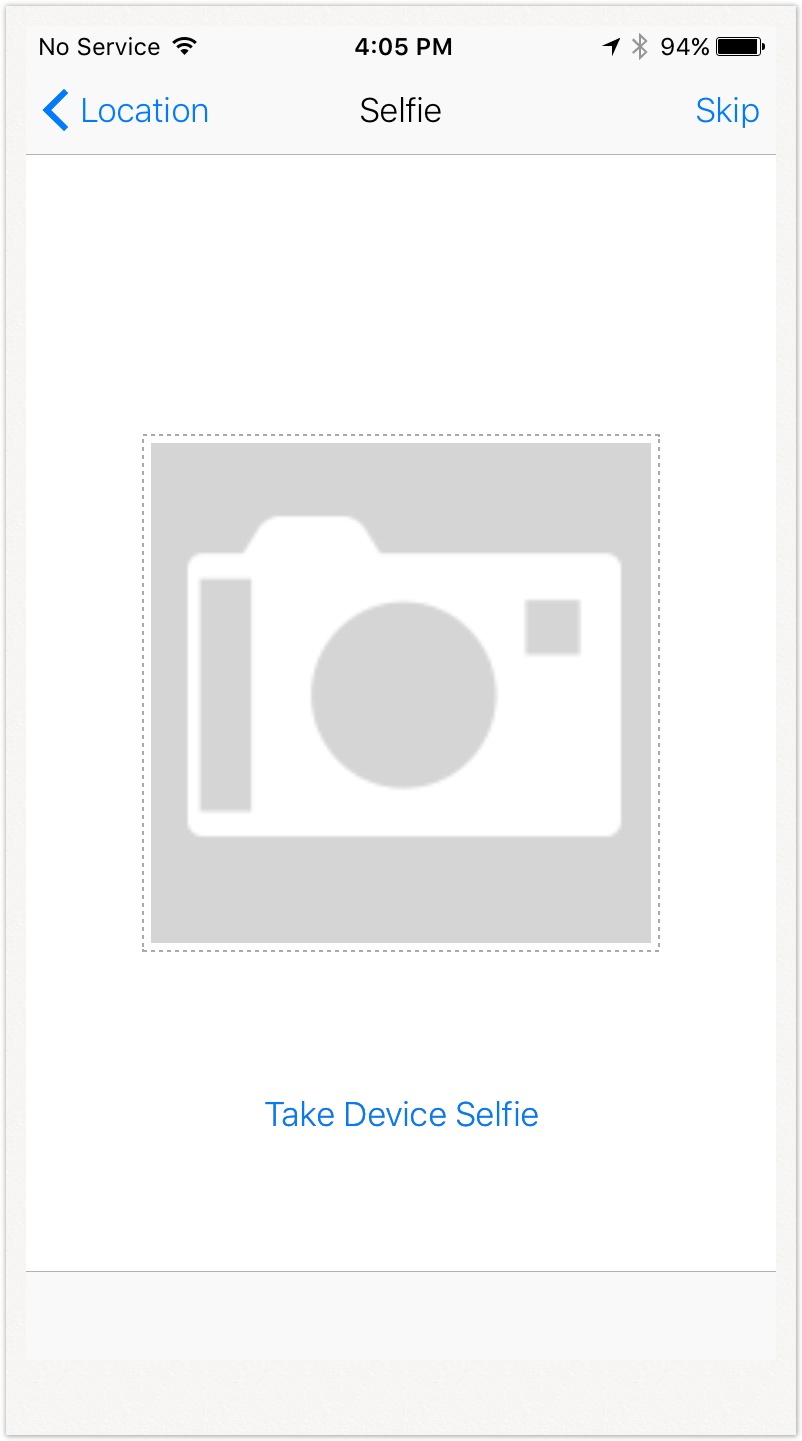
Step 8 : Next you will be prompted to take a Selfie of the BluFi. This is an optional step and is recommended so that others can easily identify the location of the BluFi after deployment
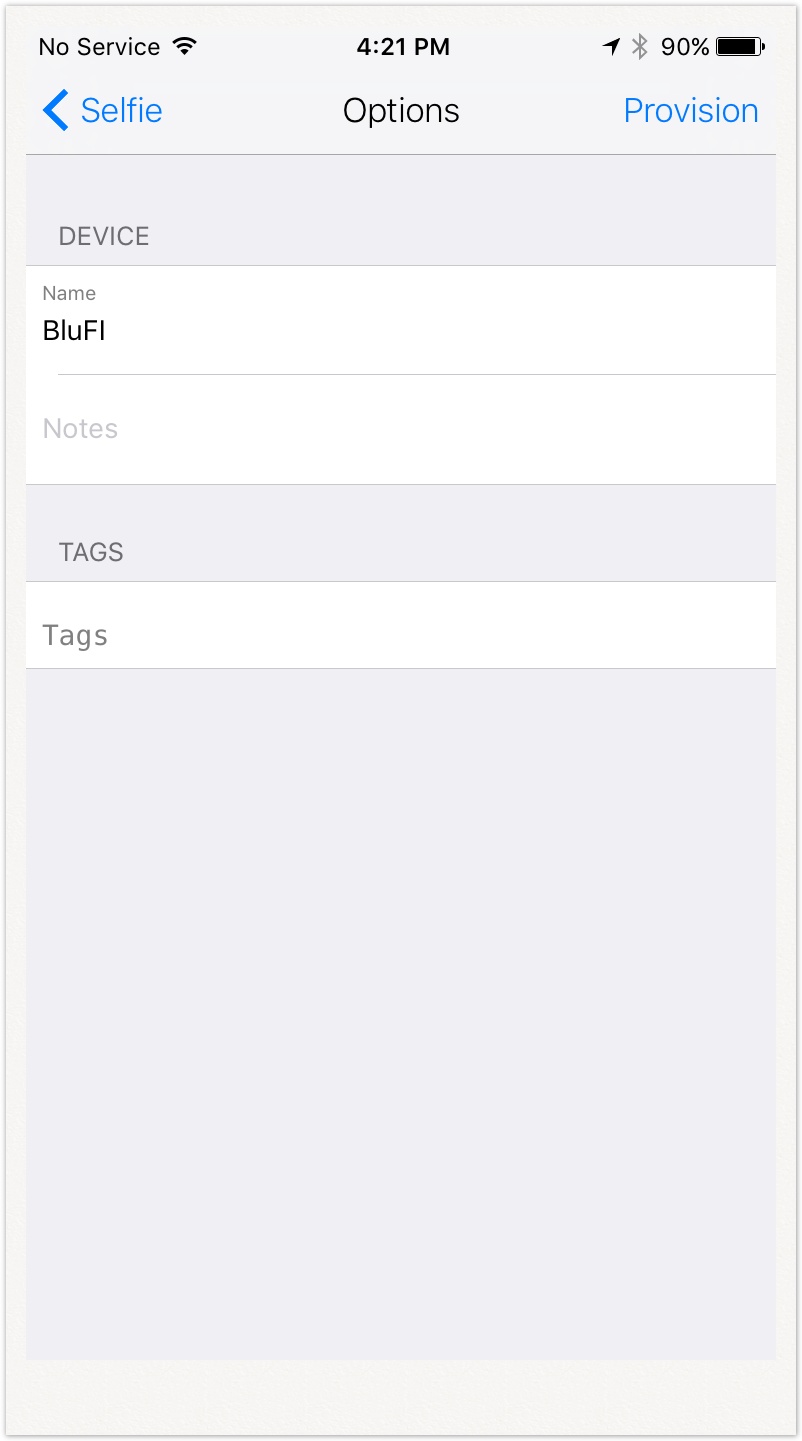
Step 9 : Next you will be prompted to enter a name for the BluFi. You may keep the default name but it is recommended to choose a unique name that is meaningful to you. At this time you may also add Tags from the template, or create new ones if needed. Click Provision after entering the information
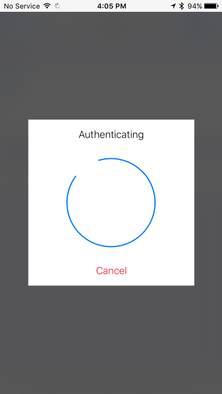
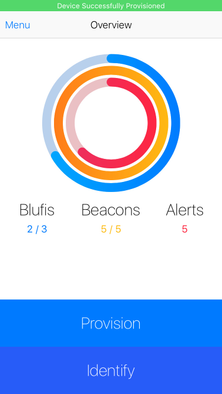
Step 10 : Wait for provisioning process to complete
Step 11 : Congratulations, you have provisioned the BluFi
ii) Virtual BluFI Setup
The Virtual BluFI setup and testing guide are available in below link
- SSID and Password Accuracy – The SSID and password that are input into the BluFi template must match the network credentials exactly (case-sensitivity included)
- Wi-Fi Spectrum Compatibility – BluFi Requires 2.4 GHz and is NOT compatible with 5 GHz
- MAC Address White Listing – Wireless network may require BluFi’s WiFi MAC Address be explicitly added to approved devices table.
- Firewall – BluFi’s require open internet access to bluzone.io via port 443 to successfully connect and provision device.
- HTTP Proxy – A HTTP proxy may not be used to route/monitor all outbound internet traffic. Customer networking team will need to whitelist BluFi devices to BYPASS proxy provided direct access to bluzone.io:443
- Certificate Authentication – If a certificate is required, it must be properly formatted and signed. Compatible formats are .pem and .der
- No DHCP - BluFi Gateway will fail to provision when host network requires static IP address and DHCP services are not enabled. Resolution, setup segmented VLAN with DHCP.
- Slow DHCP – BluFi Gateway may fail to provision using a mobile device when host network has slow issuance of IP addresses via DHCP. If time to acquire IP address lease exceeds 30-60 seconds, mobile application will exceed timeout and return failure response. However, BluFi may succeed if left plugged in and successfully gets assigned IP address.
- Slow or Unstable WiFi Network – BluFi may have connectivity issues on overloaded or poor signal WiFi infrastructures. BluFi gateways require a minimum of 2 Mbps “sustained” upload speed to successfully transmit beacon telemetry.
- BluFi Excessive Reconnects – BluFi gateway installed in location that is too far from WiFi access point, within area that contains a RF barrier (metal), and/ or within a WiFi zone with too many overlapping access points.
- Network Throttling – BluFi Gateway has been installed on cellular based internet access point with assigned upload speed and/ or connection limits. Customer may have issues when data plans exceeds subscription levels.
- Captive Portal – Host network requires the use of web page-based acceptance of terms and conditions to approve access to internet. (Used in Hotels). BluFi gateways are NOT compatible with captive portals.
- Ports - Port https port (443), NTP and Port (123) are open in the network.
Deployment and Network Troubleshooting
If you are experiencing a issue with provisioning or BluFI connectivity with Bluzone cloud then refer the below section.
Network Troubleshooting: Network requirement details for BluFI and for troubleshooting BluFI connectivity to Bluzone cloud.
Additional Product Information
Product Specifications sheet
Related articles