...
System Overview
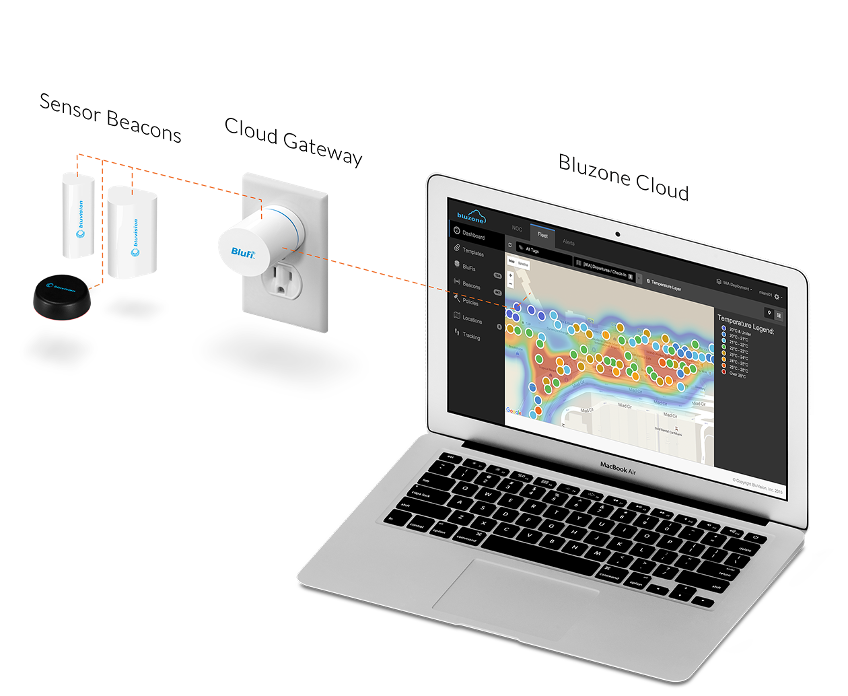
The high-level network architecture of bluvision system is comprised of mainly three components
- Beacons
- BluFI Gateway
- Bluzone Cloud
The beacons sensors transmit real time data to the BluFi gateway. BluFi (Bluetooth to Wi-Fi Gateway) receives the data from the asset tags and forward to bluzone cloud over the Wi-Fi network. The system also has the flexibility to transfer the data via smart phones with SDK/ app. The Bluzone cloud allow user to create policies for sensors and check the real-time status of the assets.
Introduction to BluFI
BluFi are Bluetooth Low-Energy (BLE) to Wi gateways that relay signals between BEEKs Beacons and the cloud of HID Global’s end-to-end IoT ecosystem. In combination with the corresponding BluzoneTM cloud
services, BluFi enable BEEKs beacons to be centrally managed through the cloud, to transfer new messages, firmware updates, sensor data and battery status checks remotely. Their unique design allows BluFi devices and BEEKs beacons to broadcast reliably even in densely populated Wi-Fi environments.
BluFI Setup Guide
This guide will help how to provision BluFl to your project .
...
- Create a BluFi template with the right Wi- Fi settings. Please refer to 03. How-to Setup Templates for details.
- Physically provisioning BluFi using the Bluzone App
- Provision BluFl
- Provision Virtual BluFI
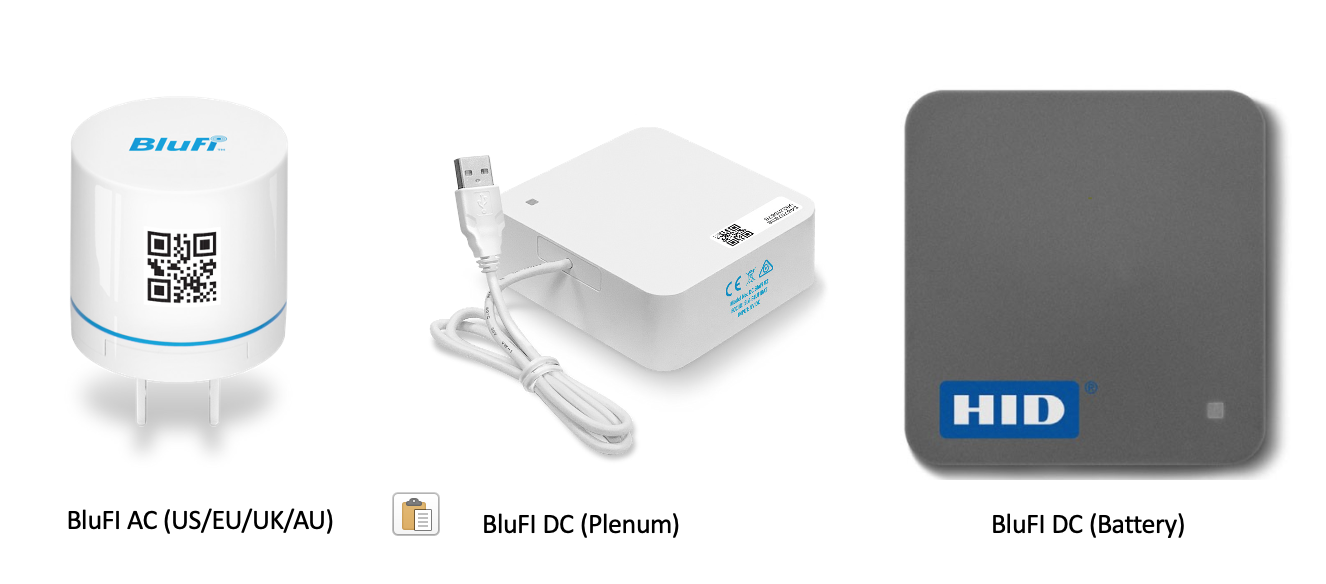
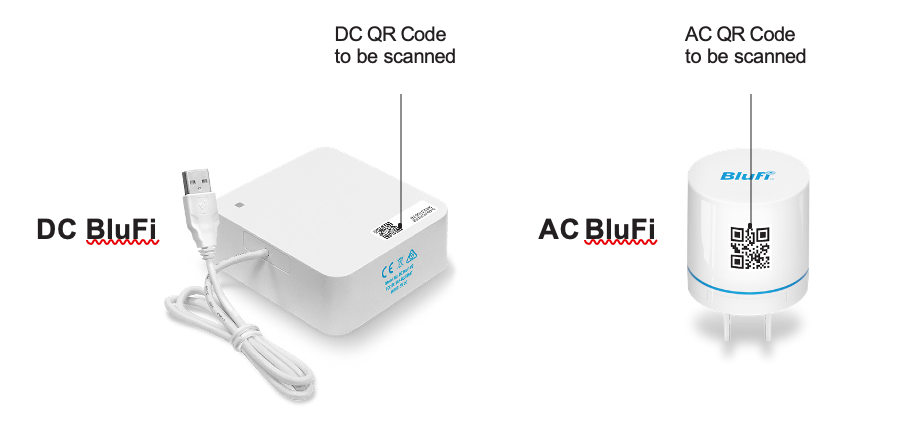
Plug the AC BluFi into the Wall Outlet and make sure you see the light indicator once plugged.
...
For BluFI DC(Battery) Connect Micro USB cable side to BluFI ,USB cable to adapter and Plug IN adapter to power outlet.
The bluzone provisioning app detail are available in below link.
i) Provision BluFI:
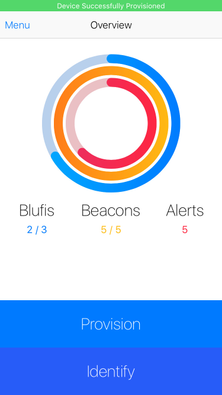
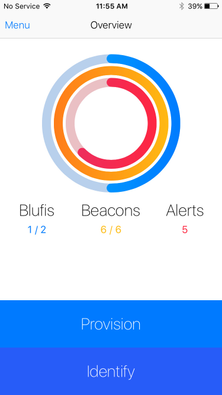
Step 1 : Launch the Bluzone app on your device
...
Step 11 : Congratulations, you have provisioned the BluFi
...
ii) Virtual BluFI
...
Setup
For virtual The Virtual BluFI provision setup ,you need to ask HID IoT team to provision BluFI to your project at the time of sale order.
Once the BluFI are provision to your project then use "Virtual Device" tab in Bluzone console to create virtual devices.
Step 1 : Launch the Bluzone app on your device
...
Step 2 : Sign in using your username and password
...
Step 3 : Click Provision
Step 4 : Click Virtual BluFi
...
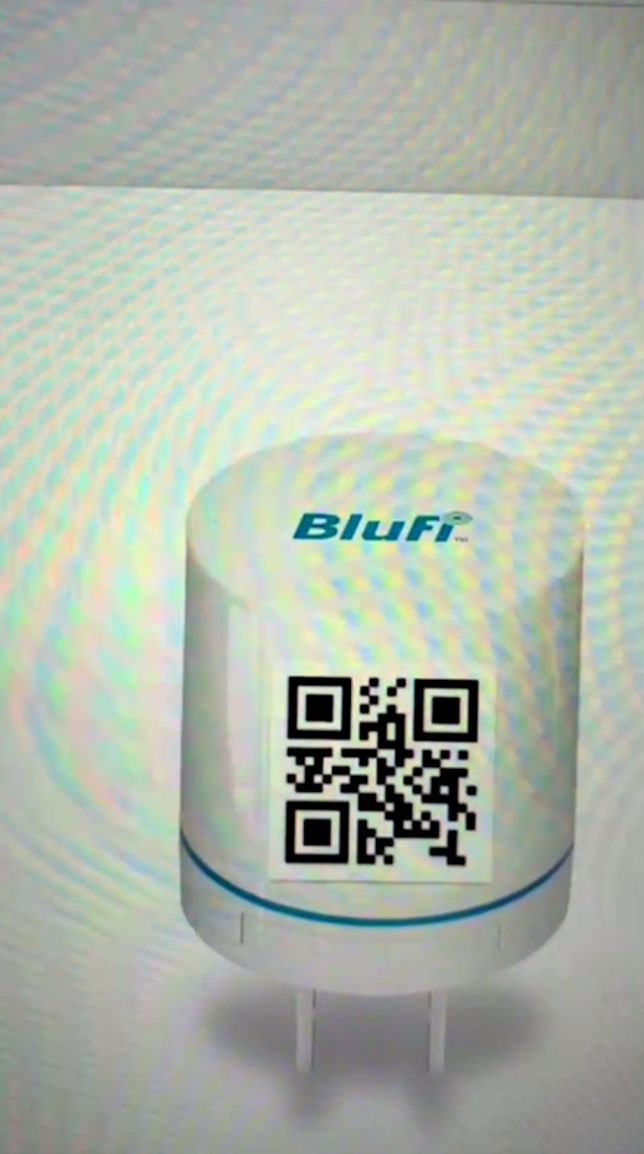
Step 5 : Scan QR Code on the BluFI
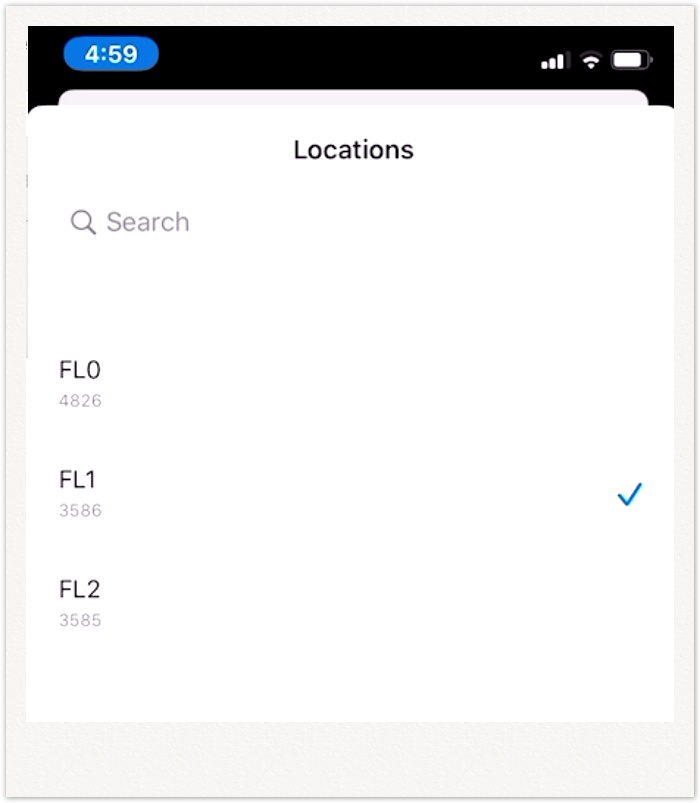
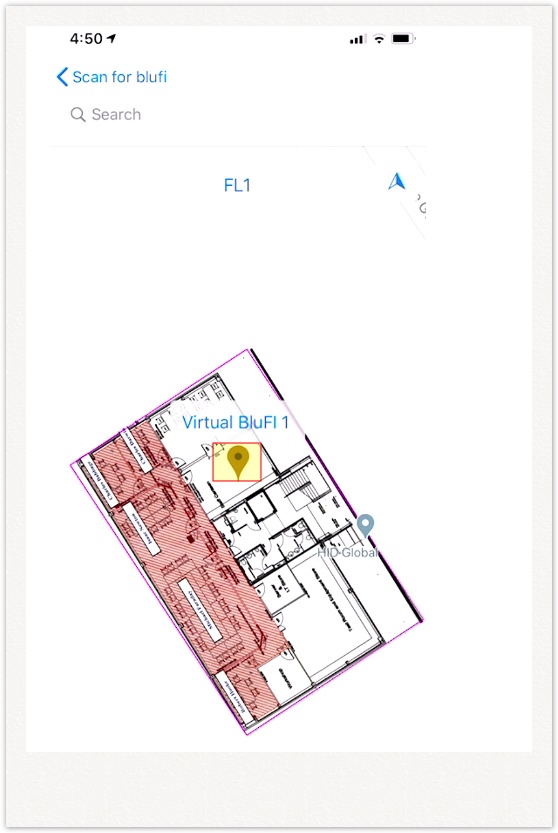
Step 6 :To Assign BluFI on the Map.Select Location
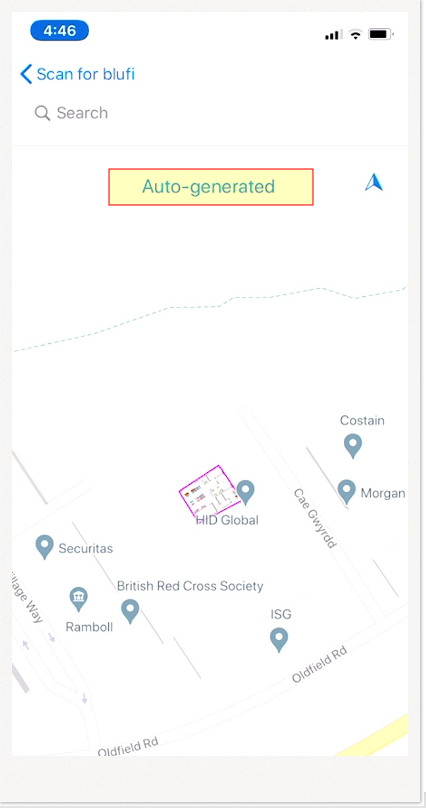
Step 7 :Select the Map
Step 8 :Select BluFl assigned on the map .
Step 9 : Select Associate
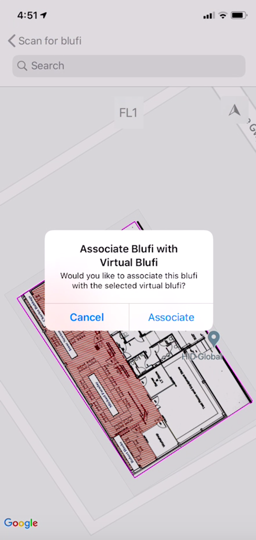
Step 10 : BluFI associated to the project.
...
Wi-Fi can work over one of two spectrum bands: 2.4GHz or 5GHz. Before proceeding with configuration, please ensure your Wi-Fi configuration uses a 2.4GHz SSID.
- The BluFI Device is compatible with 2.4GHz bands only.
- The BluFI device is compatible with dual band networks but the BluFi must connect to the 2.4GHz band SSID.
- The BluFI requires Wi-Fi network that are designed for m2m. A Wi-Fi network with web html login is not supported.
- Please also ensure that the Wi-Fi network firewall settings do not restrict BluFi connectivity.
...
setup and testing guide are available in below link
| Info |
|---|
|
Deployment and Network Troubleshooting
If you are experiencing a issue with provisioning or BluFI connectivity with Bluzone cloud then refer the below section.
Network Troubleshooting: Network requirement details for BluFI and for troubleshooting BluFI connectivity to Bluzone cloud.
Additional Product Information
Product Specifications sheet
Related articles
| Filter by label (Content by label) | ||||||||||||||||||
|---|---|---|---|---|---|---|---|---|---|---|---|---|---|---|---|---|---|---|
|
...